FLAWLESS SKIN? I’LL SHOW YOU HOW
March 30, 2012
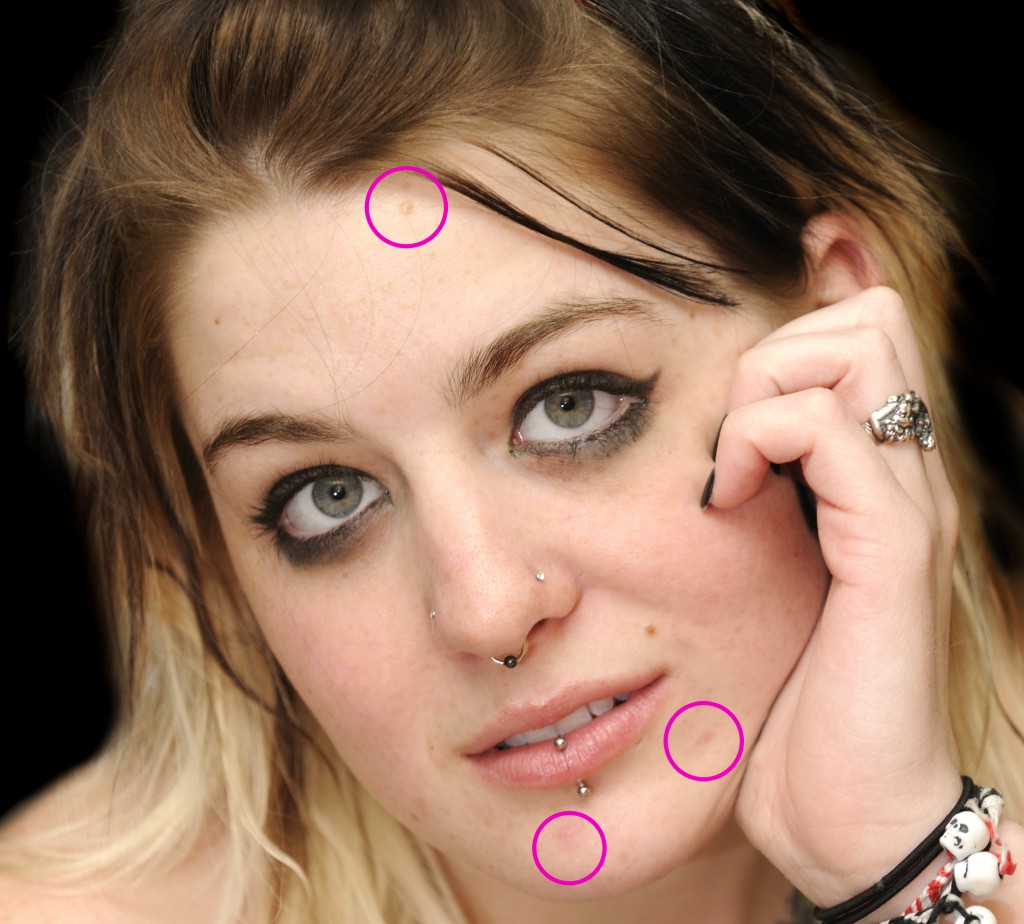
This is #1 in my series of basic retouching skills like “liposuction” to your waistline, fixing the bump on your nose and under your jawline, erasing pesky acne or under eye circles.
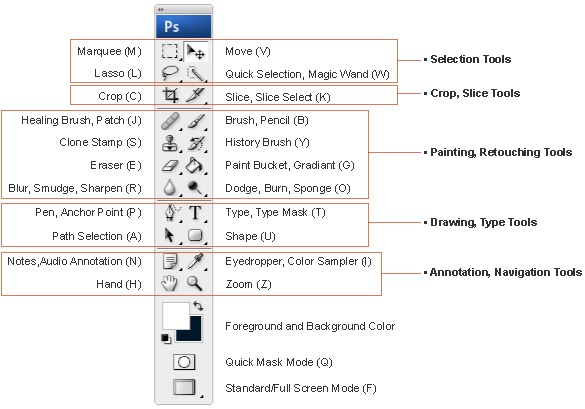
As I speak of different tools, you can use this handy-dandy
reference guide to locate these tools in Adobe Photoshop…
First, copy the layer in the Layer Pallet so when you’re done making the changes, you can see the before and after of your work. We will only be working on the top layer.
Before After

There are 2 tools to use to get rid of blemishes.
#1
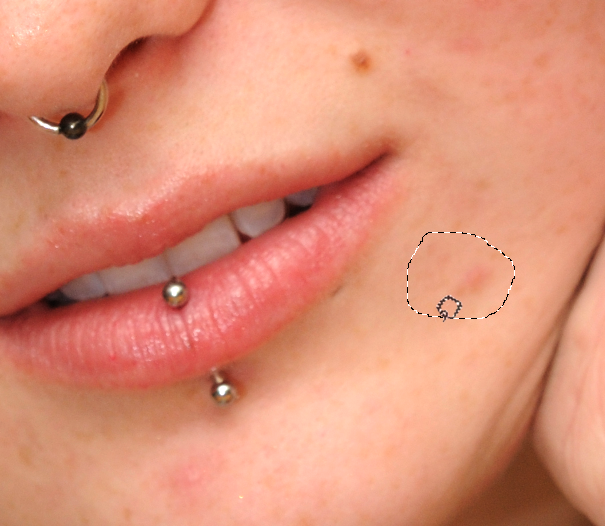
The simplest one is the “Patch Tool” (often found under the Healing Brush). With the Patch tool, all you have to do is circle the blemish and drag it to a similar skin tone that is blemish-free. REALLY, that is all! It is magic!
#2
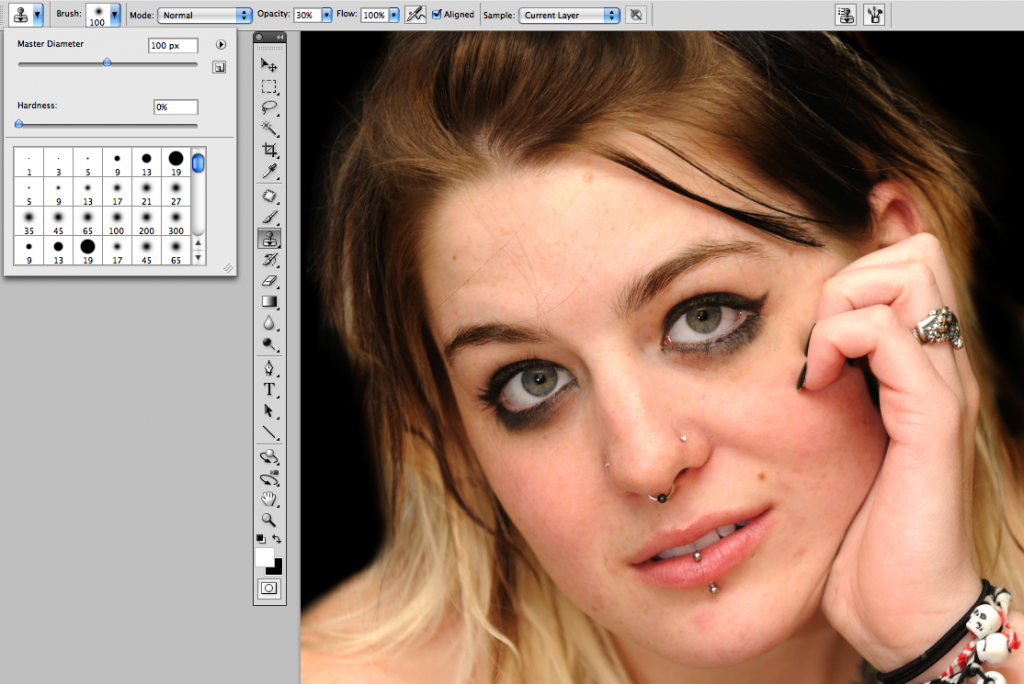
The second tool is the “Clone Stamp” and it is used to remove flaws or soften the look of textured skin.
Click on the Clone Stamp and then look at the top bar above your image to adjust the brush and opacity settings.
You want your brush to be as soft as possible and the Opacity set to 30%.
You will then be holding Option/Alt on your keyboard to activate the “copy” mode of the tool. Click once on an area that is clear and blemish-free to copy.
Let go of the key now and click on the blemish to softly fade the flaw away. You will repeat this “copy/paste” method until the blemish has faded into the rest of the skin.
We set the Opacity to 30% so that it is a soft and natural fade. Play with the Opacity percentage to see what works best for your purposes.
I used the clone tool to copy the nearby skin-tone and lighten undereye circles and flawed makeup. In addition, you can practice and learn how to soften the look of wrinkles, dark spots and stray hairs. Give it a try!
Now turn the layer on and off to reveal all that you’ve learned today!
